1. Download the Cfw for Linux client and install it (graphically)
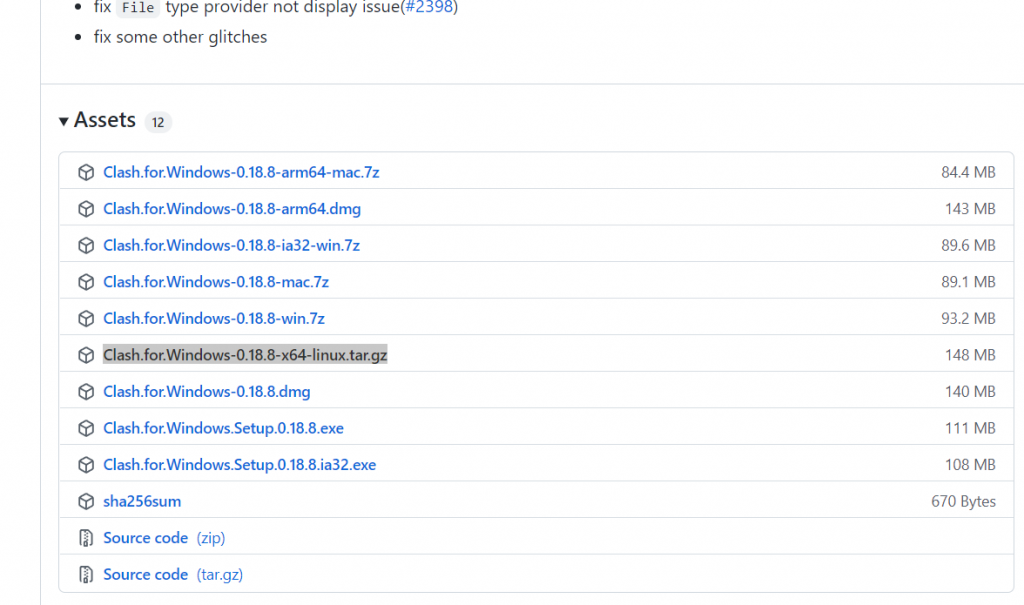
First download cfw for linux from GitHub
Download Clash.for.Windows-0.18.8-x64-linux.tar.gz (please choose x64-linux for general PCs)
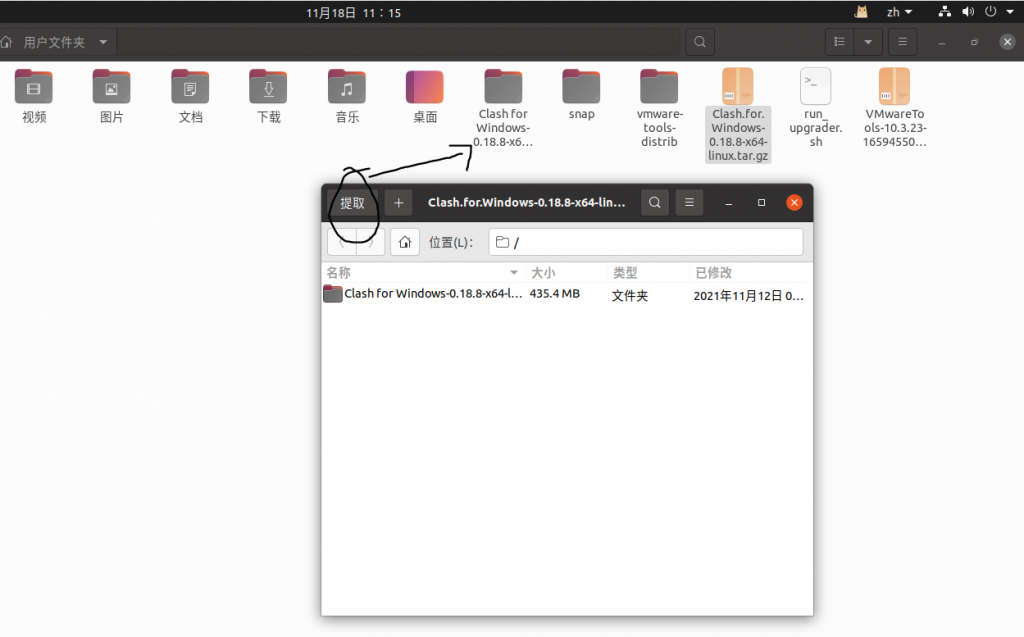
2. Unzip
Once downloaded, unzip it in ubuntu.
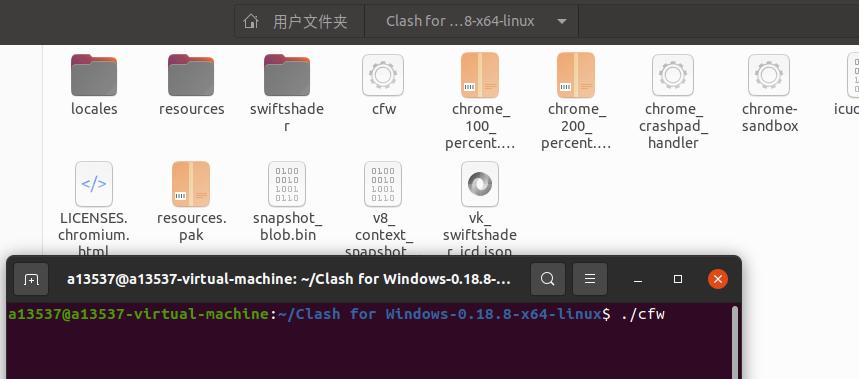
Go to the extracted folder and run the command in the current terminal
./cfw
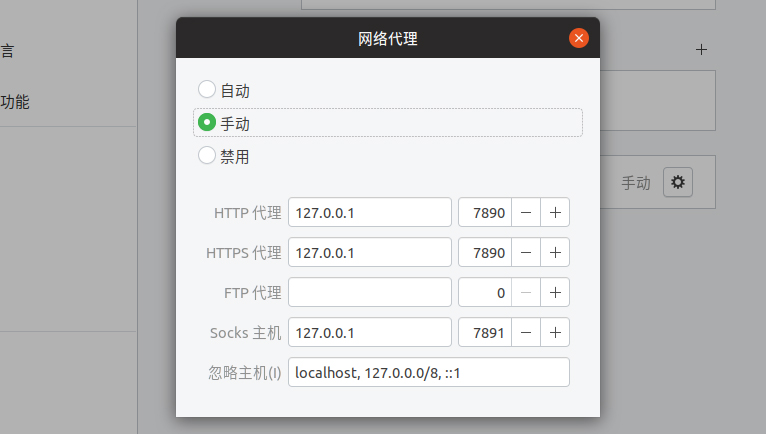
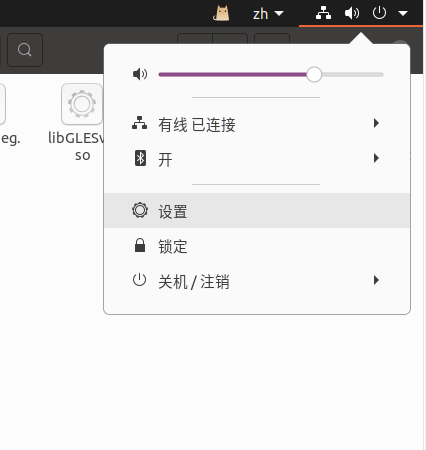
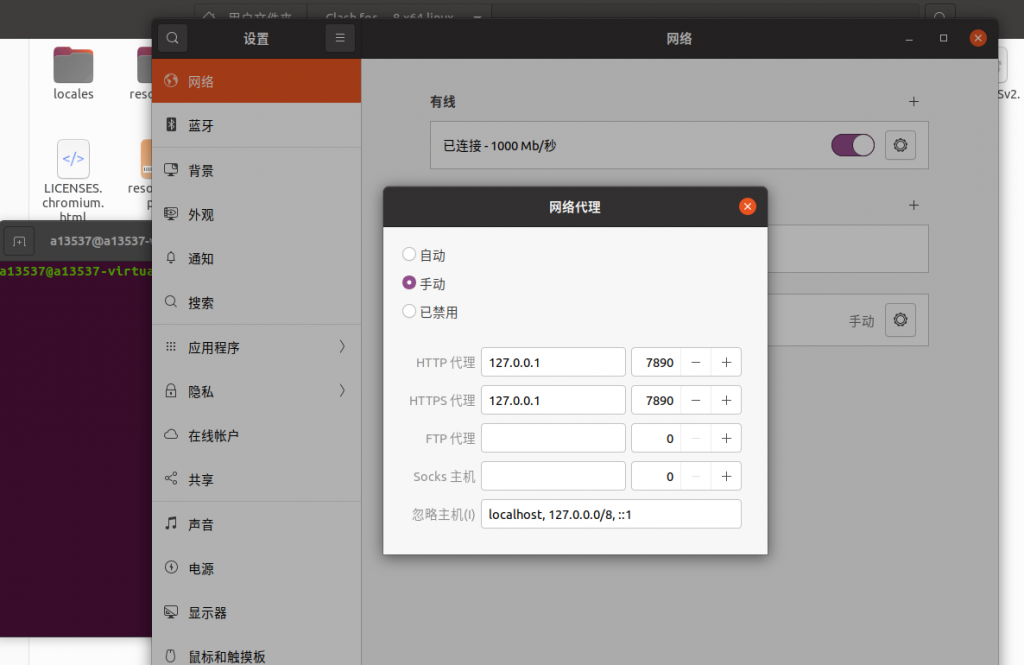
3. Setting up the proxy
Open Settings-Network-Web Proxy (gear) and point the http/https proxy to the local clash default port 7890 (Port can be changed on the clash interface startup page)
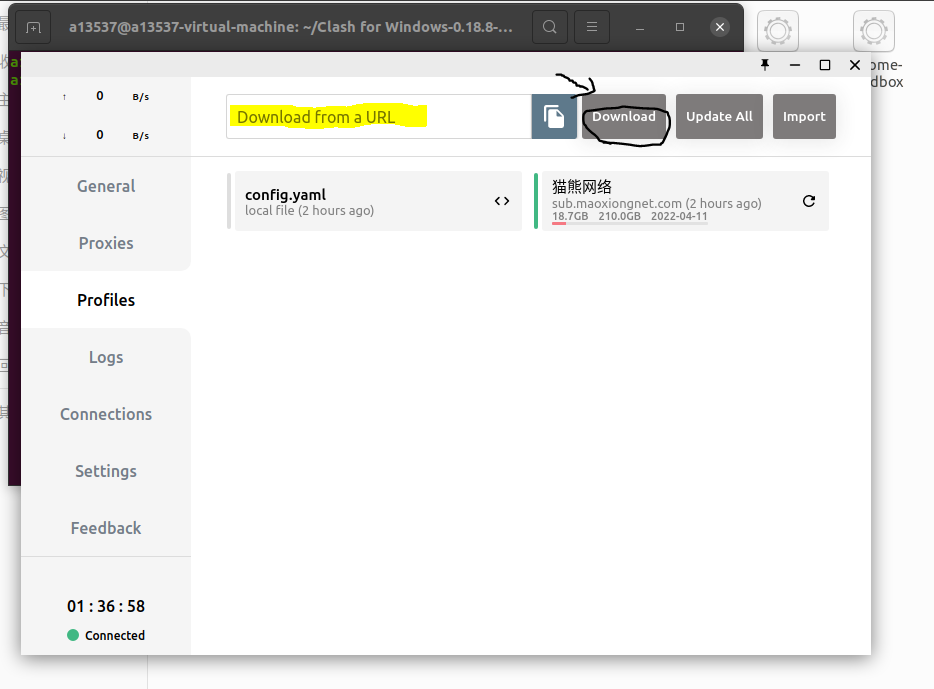
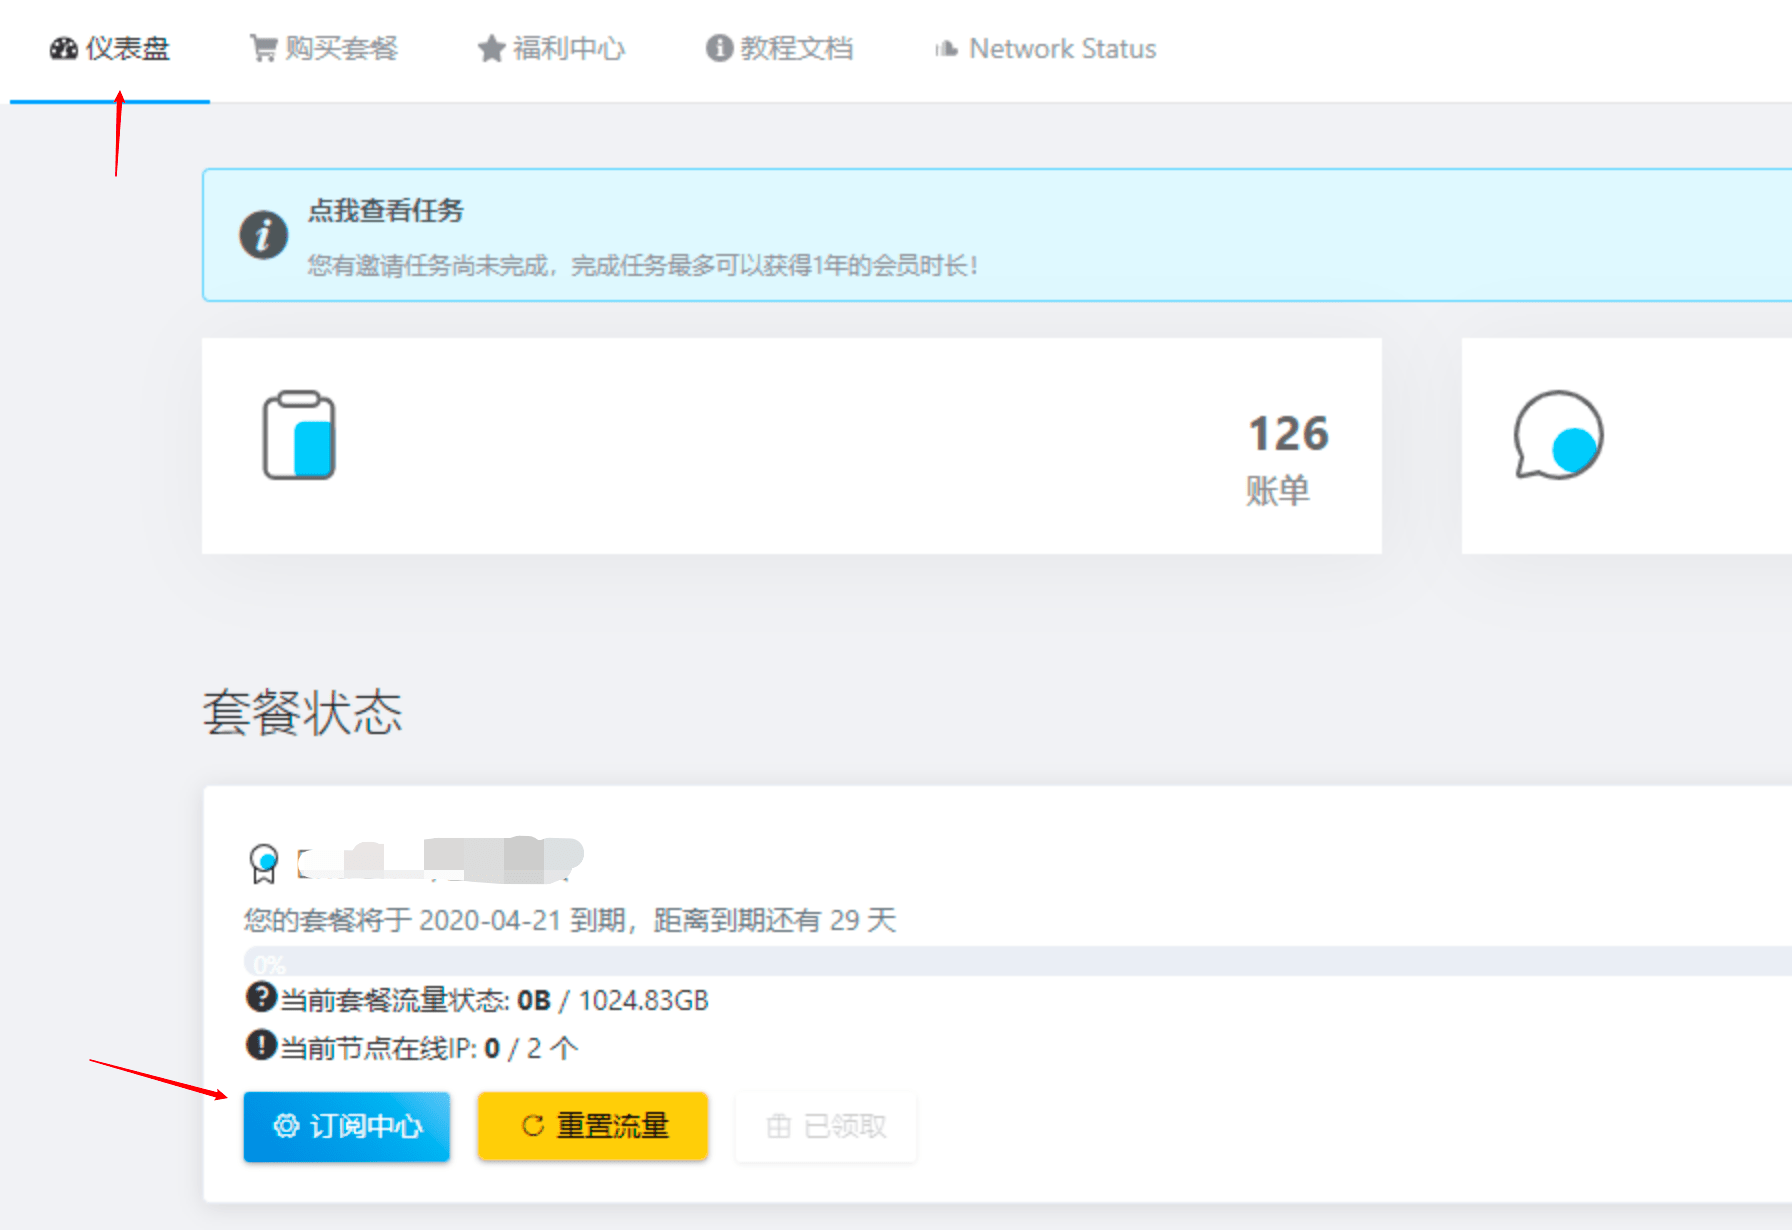
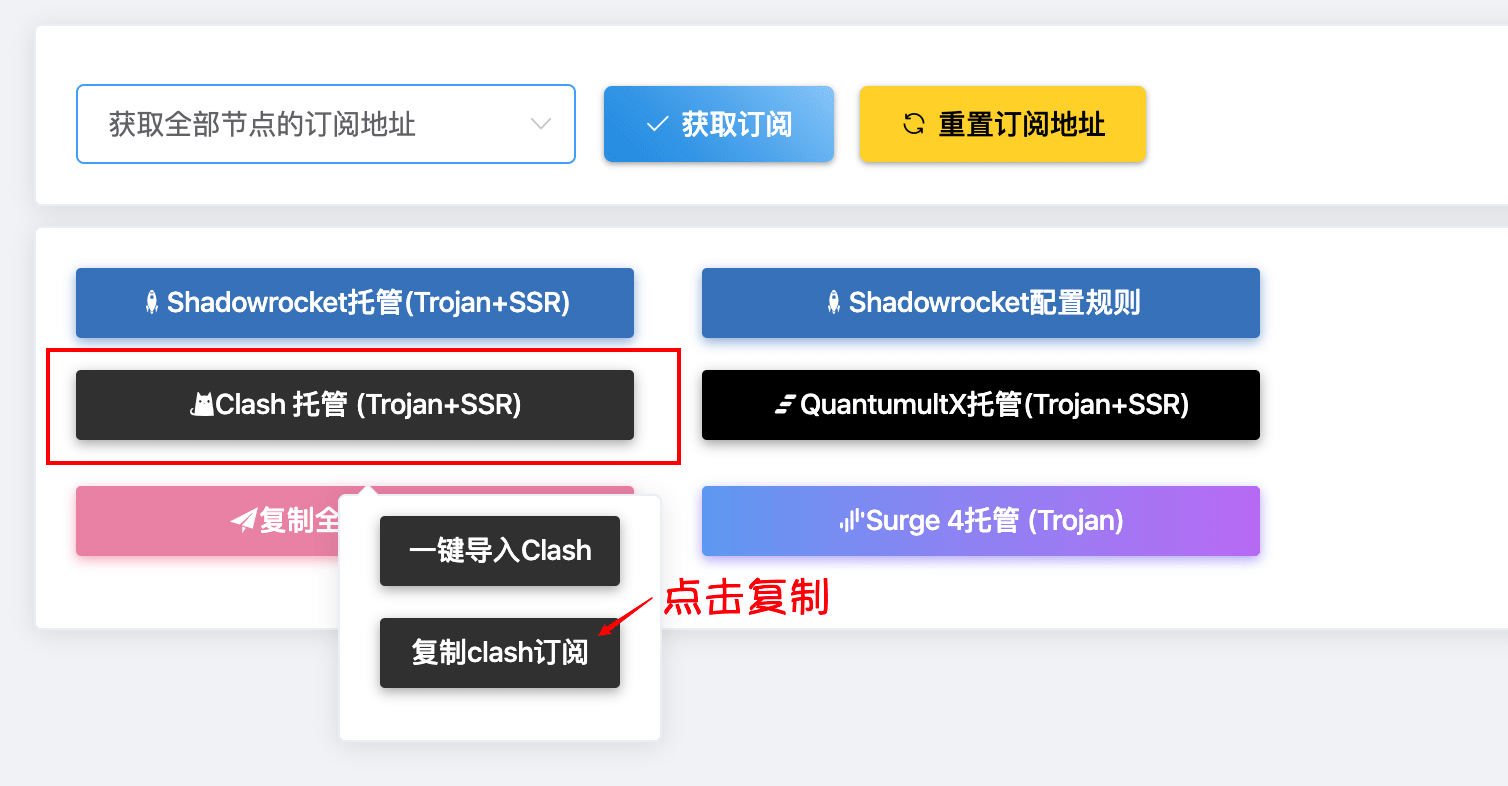
4. Set up subscription links
Copy the clash subscription link from the subscription center of the official website, fill in the clash, and select the node.

1. Download the Clash for Linux client and install it.
👉 Click here to enter the into Github to download

Download clash-linux-amd64.tar.gz for your personal 64-bit computer.
2. Terminal installation of Clash
Execute cd && mkdir clash to create a clash folder in the user directory.
Download the appropriate Clash binaries and unzip and rename them to clash
In the terminal cd go to the directory where the Clash binaries are located and execute wget -O config.yaml [clash订阅地址]&log-level=info to download the Clash configuration file.


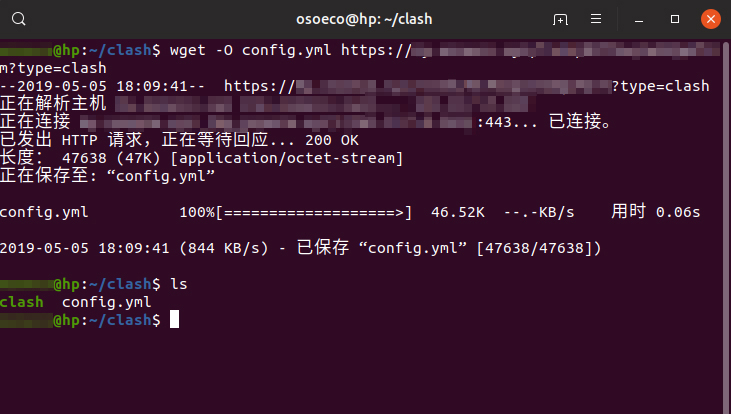
Please note that the [clash订阅地址] , you need to replace the address of your exclusive subscription by copying it within the Subscription Center on the official website.
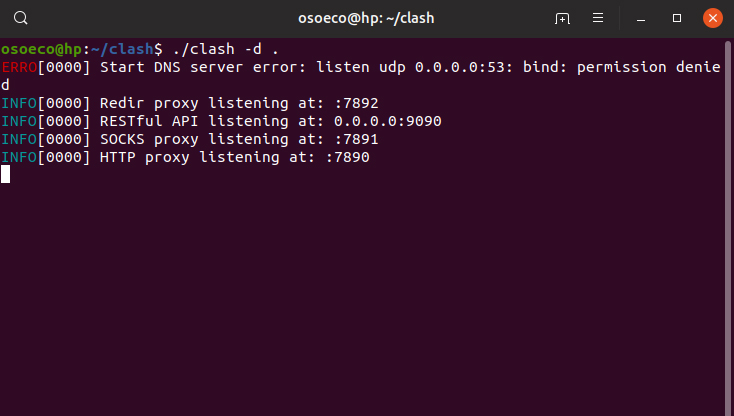
3. Start Clash and connect
Execute ./clash -d . to start Clash, along with the HTTP proxy and Socks5 proxy.
If you are prompted for insufficient privileges, execute chmod +x clash
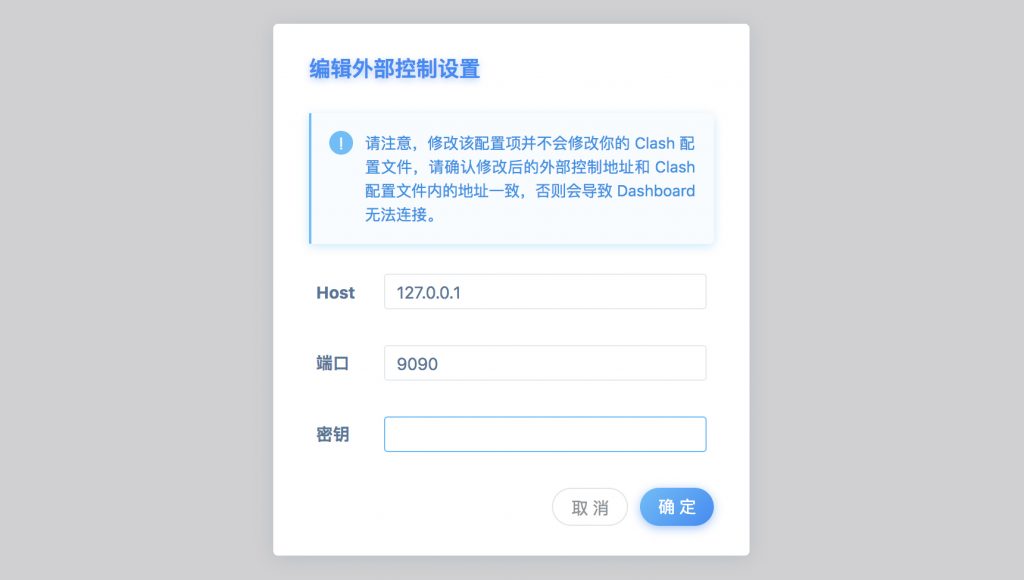
4. Access to the Clash panel
Visit the Clash Dashboard to switch nodes, measure latency, and more.
Host: 127.0.0.1, Port. 9090
4. Setting up as a system agent
Take Ubuntu 19.04 as an example, open System Settings, select Network, click the ⚙ button to the right of Network Proxy, select Manual, fill in the HTTP and HTTPS proxies as 127.0.0.1:7890, and fill in the Socks hosts as 127.0.0.1:7891to enable the system proxy.